
A simple guide to your library
How to organise and find your notebooks
Give notebooks clear names, choose a library view, and find one with search.
A tidy library makes the right notebook easier to spot. Start with a name you will remember, then choose the view that feels comfortable.
Organise notebooks on Android
Name it, choose a view, and find it again
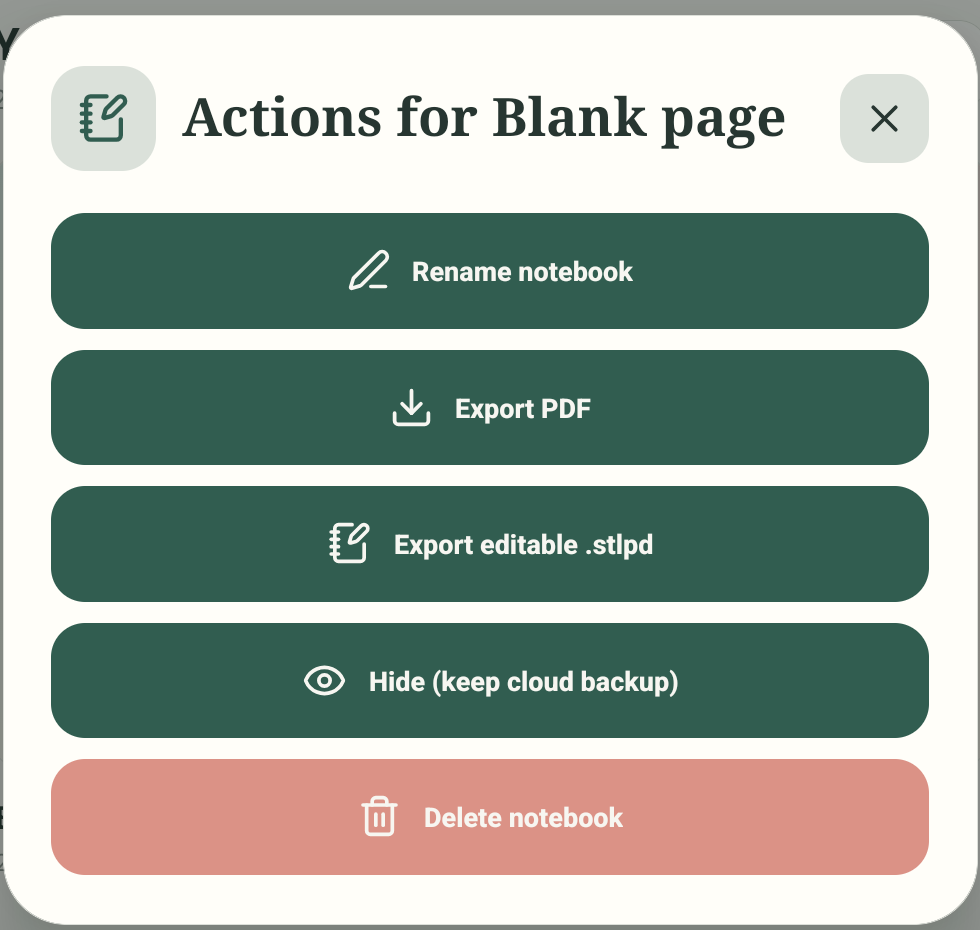
Step 1 of 4 — Open the notebook menu
These are real Android Stilopad Light screenshots from debug build 0.1.71 (72). A disposable Android notebook was renamed and searched; the library view panel and List view were opened. Separately, Web Lite sorting, type filters, Grid/List, columns and title search were checked in an isolated QA library. Rename, hide/restore, preference persistence and cloud effects remain unverified. The screenshot cards contain QA sample content only; screenshot controls are in English.
Organise notebooks on Android
Organise notebooks on Android
Open the notebook menu
From the library, tap the three-dot menu on a notebook card. This real menu shows Rename notebook along with separate export, hide and delete actions; do not choose those other actions for this task.
Give it a name you will remember
Choose Rename notebook, replace the old title, then tap Save name. The test renamed a disposable notebook to Guide Sample QA; the keyboard is hidden in this dialog capture.
Pick a library layout
Open Library view to see the available choices: grid or list, grid columns, sort by Recent, Name or Pages, and the All, Notebook, Planner, Searchable and Hidden filters. This test switched to List; it did not test what happens to hidden items.
Search for the notebook
Type a word from its name in the Library search field. Here “Guide sample” shows the renamed Guide Sample QA item, so it is easy to pick out from the library.
On the shared Android 15 test emulator, a disposable notebook was renamed to “Guide Sample QA”. Grid/list controls and library search were opened; search found the one notebook whose title matched “Guide sample”.
On Web Lite
On Web Lite
Open the Web Lite library and expand Sort & filter. Choose a sort order and document type; the menu includes Recently updated, Name, Page count, All document types and individual types.
Switch between Grid view and List view. In Grid view, choose how many notebooks to show per row.
Search for a word from the notebook title. In the isolated check, the exact QA title returned one result. Sorting, type filters, layout and columns worked; renaming and hiding/restoring were not tested in Web Lite.
Choose the view that helps you scan
Grid shows page thumbnails side by side; List gives each notebook more room for its name and details. The view panel also offers sorting and filters. Search is useful when you remember a title but do not want to scroll.
A clear name is a small kindness to future you
Renaming changes the notebook title, not its pages. This test saved the new title and found it with a library search. The displayed test card had two pages.
If your notebook is hard to find
- Try a short word from the notebook name in the library search field.
- Check whether a category filter is narrowing the list; return to All to see every category.
- The Hidden filter is present in the Android view panel, but hiding/restoring a notebook and its cloud effects were not tested here.