
A simple guide to pen marks
How to draw and erase in Stilopad
Choose a pen, colour and width, draw on the page, then erase a mark you do not want.
Open a notebook and choose Pen to make a small doodle or handwritten mark. You can pick a different pen and tidy a stroke with the eraser.
Draw and erase on Android
Choose a pen, make a doodle and tidy a stroke
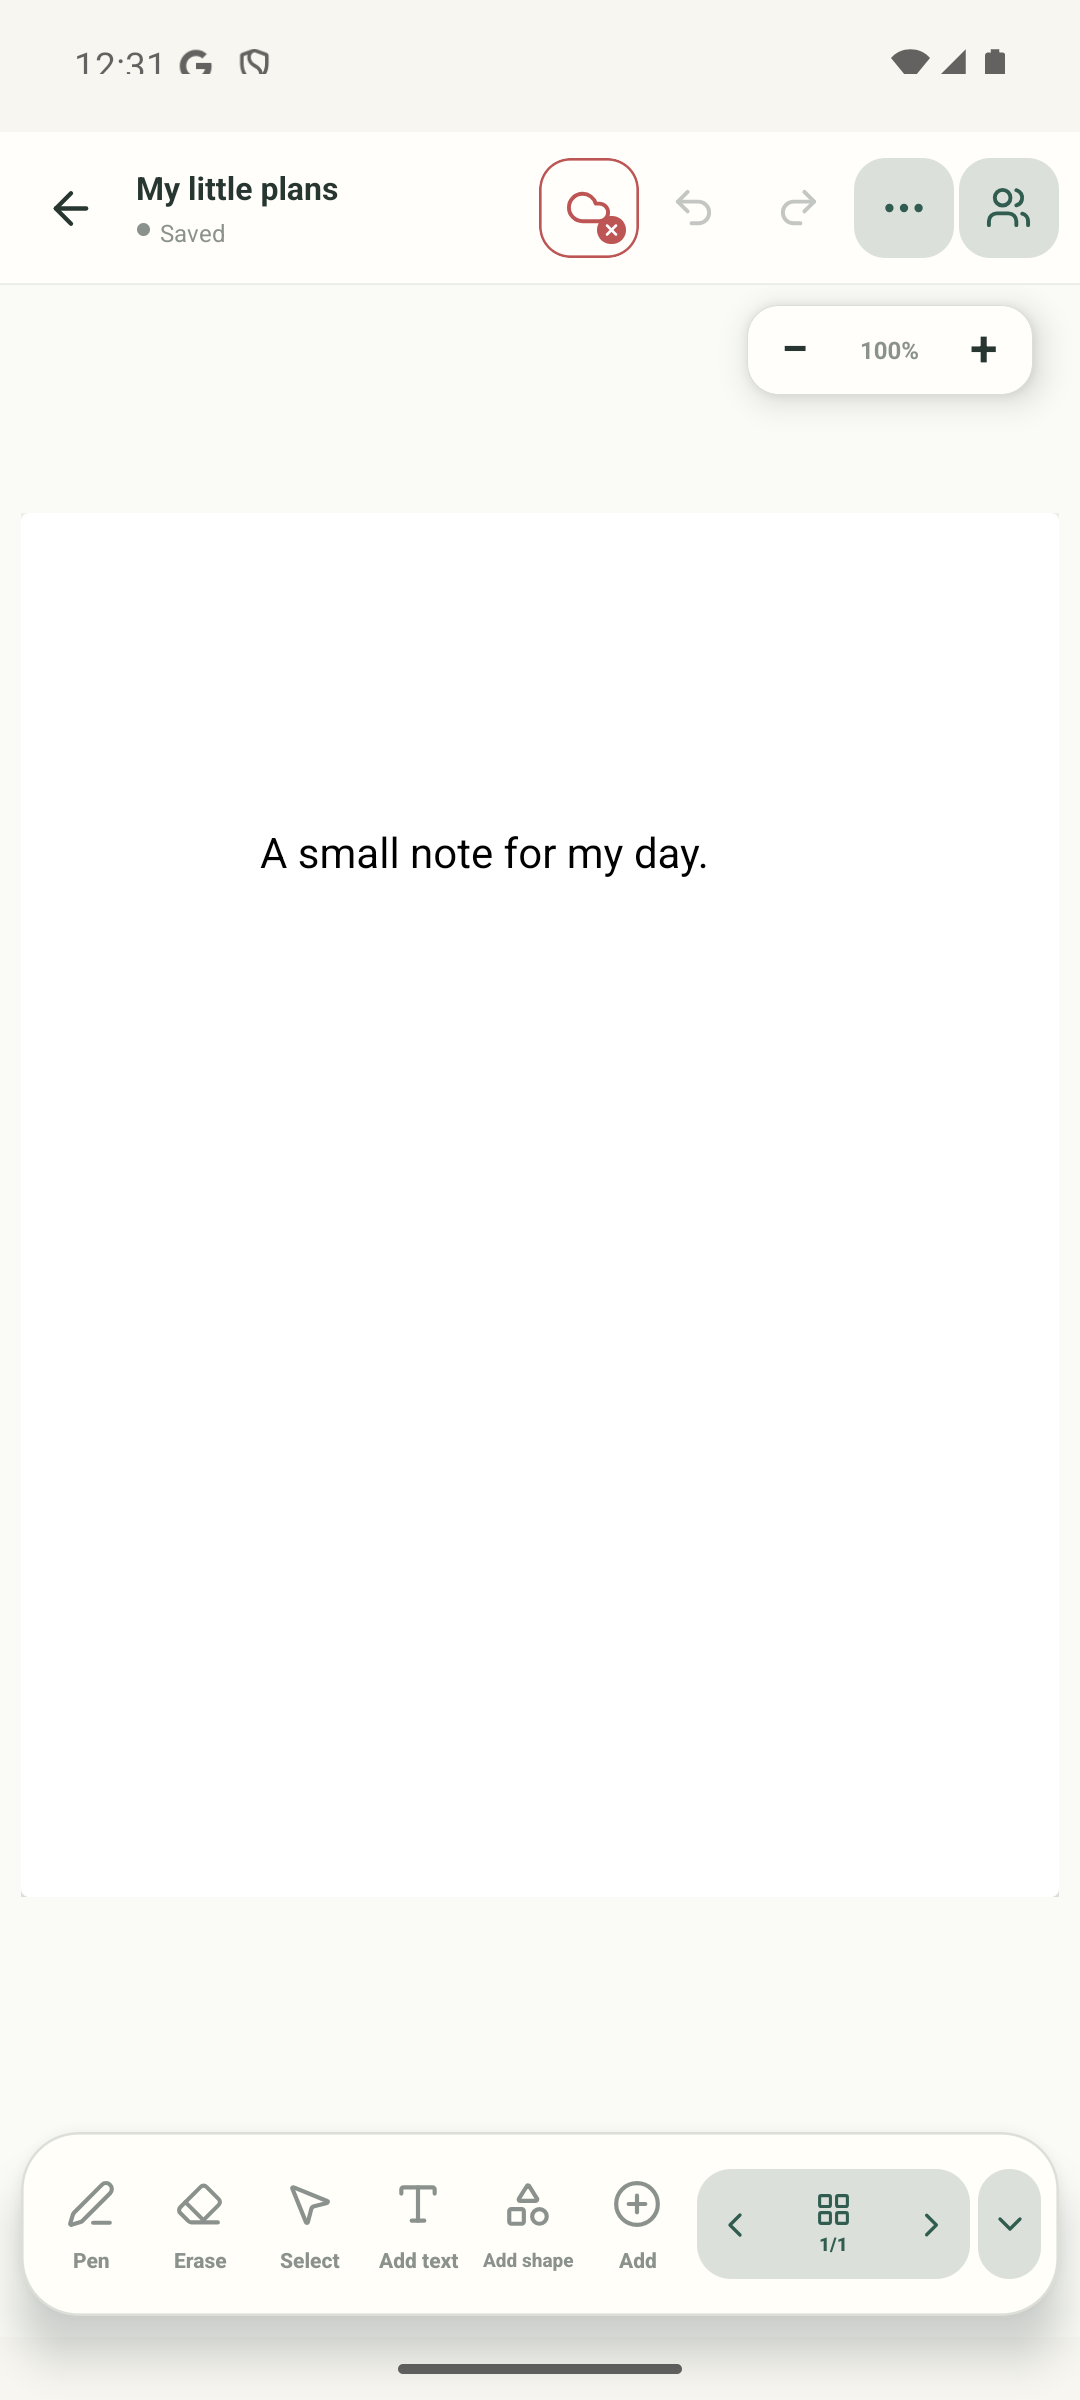
Step 1 of 11 — Open Pen
The screenshots are genuine Android captures. In a separate local Web Lite check, a simple mouse stroke remained after reopening the notebook and was then removed with Erase. No Web Lite screenshot was captured; other pen styles, colours and widths, Undo/Redo, and free-form ink selection or movement remain untested.
Draw and erase on Android
Draw and erase on Android
Open Pen
Start on the notebook page. Tap Pen in the bottom toolbar to open its drawing options.
Explore pen styles
The Pen panel is open with Technical pen selected. The row also has Fountain pen, Ballpoint, Pencil, Marker, Highlighter and Brush.
Choose green ink
Tap the current-colour swatch to open the colour choices, then pick green. The next captured state confirms green is active.
Check the green selection
Green now appears as the active colour. This is the result state, so the pointer rests while you inspect it.
Choose a line width
Tap the fourth width dot in this example. A wider dot means the next stroke will be thicker.
Check the chosen width
The fourth width is now highlighted. Keep the panel open while drawing on the open area to the right of the picture.
Draw the flower
Trace one small flower without lifting the pen: the pointer makes four petals around the middle, then carries the line down into a short stem. The Pen panel stays open below the page.
See the flower on the page
The next capture shows the finished flower without the pen panel covering the drawing. This is the real page result from the Android test.
Choose Erase
On this same practice page, tap Erase in the bottom toolbar. The next captured state opens Precision eraser controls; the flower page is not changed.
Erase across a mark
Watch the nib draw a short practice line, then follow it back with the eraser. The overlay demonstrates the drag; it is not a new mark saved in the captured notebook.
See the finished page
The real saved page shows the finished green flower. Check Saved before leaving the notebook.
The Android example uses a finger to draw a small green flower on a test page. The precision eraser controls were opened and tested on temporary marks before the final drawing was made.
On Web Lite
On Web Lite
Open a notebook in Web Lite and choose Pen. The live check used Technical pen with its default black ink.
Draw a short stroke with the mouse, return to the library and reopen the notebook to check that the stroke remains.
Choose Erase and drag across that stroke; it disappears. Other pen styles, colours, widths, Undo/Redo and free-form ink selection were not tested.
Different pens make different marks
The pen menu shown here includes Technical pen, Fountain pen, Ballpoint, Pencil, Marker, Highlighter and Brush pen. Colour and width are separate choices. The precision eraser removes or trims marks where you drag.
Ink stays on the page
After drawing, check that Saved appears before you change pages. The screenshot is a real Android result on the QA notebook.
If drawing does not start
- Check that Pen is selected, then try a short stroke on a clear part of the page.
- Use Erase for marks; the eraser panel describes its size and drag behavior. Avoid dragging over a picture or text unless you mean to remove that object.
- Undo and Redo are visible in the top bar, but their behavior was not part of this test. Do not rely on them as your only copy of important work.