
A simple guide to shapes
How to add shapes and arrows
Frame a thought with a shape or point to it with an arrow.
Shapes are page objects. Choose one, drag across the page to make it, then adjust its line and fill.
Draw a shape on Android
Choose a shape and use it to point
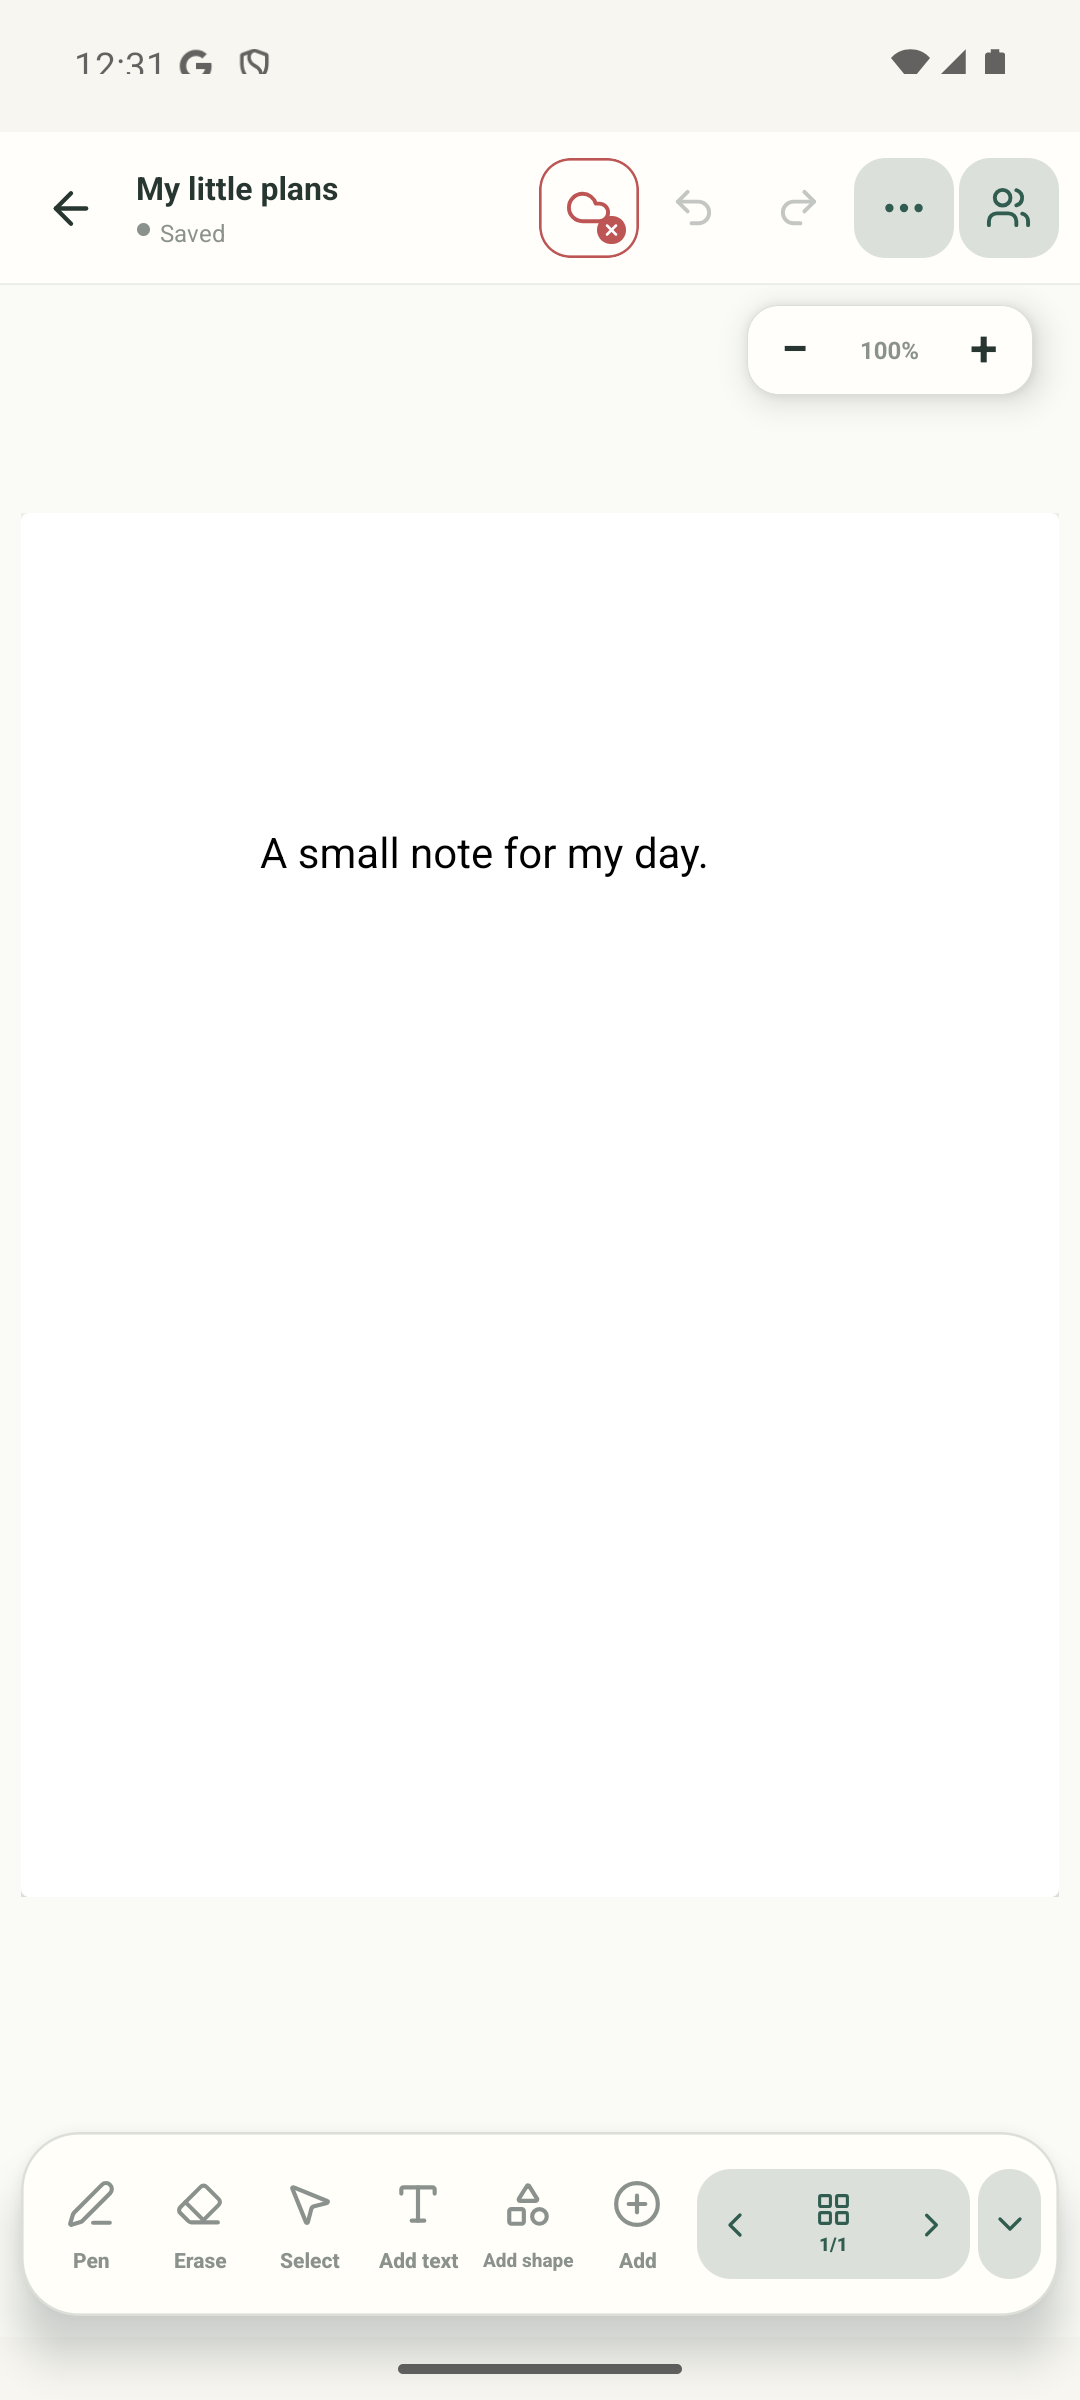
Step 1 of 4 — Start in the editor
The editor and open Add shape panel are real Android Stilopad Light captures from build 0.1.71 (72). The drawn-page image is a labelled example, not an Android capture. In a separate Web Lite QA notebook, a filled rectangle and an arrow with adjusted line width both remained styled after reopening. The selected-object toolbar had no layer-order buttons. Cross-device sync and phone layout were not tested.
Draw a shape on Android
Draw a shape on Android
Start in the editor
Open the page where the shape belongs. Tap Add shape in the bottom toolbar; this real screen shows where the shape tool starts.
Choose a shape and its style
The real Add shape panel is open. Pick a line, arrow or outline, then choose its line colour and optional fill. Available style controls can vary by shape.
Drag to make the shape
Choose an item in the real shape picker, then drag across the page to give it width and height. A new shape is selected so you can move or style it.
Keep the note readable
Use a light or transparent fill if the shape sits behind writing. You can change its line colour and fill, then adjust its layer if it covers another object.
The Android editor has a Shape tool with lines, arrows and a range of geometric shapes. Choose a shape and style, then drag on the page to create it; the new object is selected.
On Web Lite
On Web Lite
Open a notebook and choose Add shape from the bottom editor toolbar.
Pick a shape, set its line and fill, then drag across the page. The shape appears selected. In our local check, the fill colour was still there after reopening the notebook.
Choose an arrow to point something out. We reopened the local notebook and confirmed the arrow width and shape fill were saved. Web Lite’s object toolbar has no layer-order buttons; use Android’s Bring forward or Send backward actions to change which object overlaps another.
An arrow is a shape object too
Use a line or arrow for direction and a closed shape to group or frame content. The tool includes several shapes; the exact controls and labels can vary with the selected object and platform.
Check the page after drawing
Tap away from the selected shape and make sure the text beneath it can still be read. If it covers something, adjust the fill; on Android, use Bring forward or Send backward to change the overlap. Web Lite has no layer-order buttons.
If a shape is hard to see
- Check its line colour and width; a white line on a white page can disappear.
- A transparent fill leaves page content visible. A solid fill may cover text or pictures underneath.
- Select the shape to adjust it. If it is locked, unlock it before moving or editing.