
A simple guide to pictures on your page
How to add and edit an image in Stilopad
Add a picture to a notebook page, adjust its crop and apply the result.
Open a notebook, bring in a picture, keep the part you like and place the finished image on your page.
Add and crop a picture on Android
Add a picture and keep the part you want
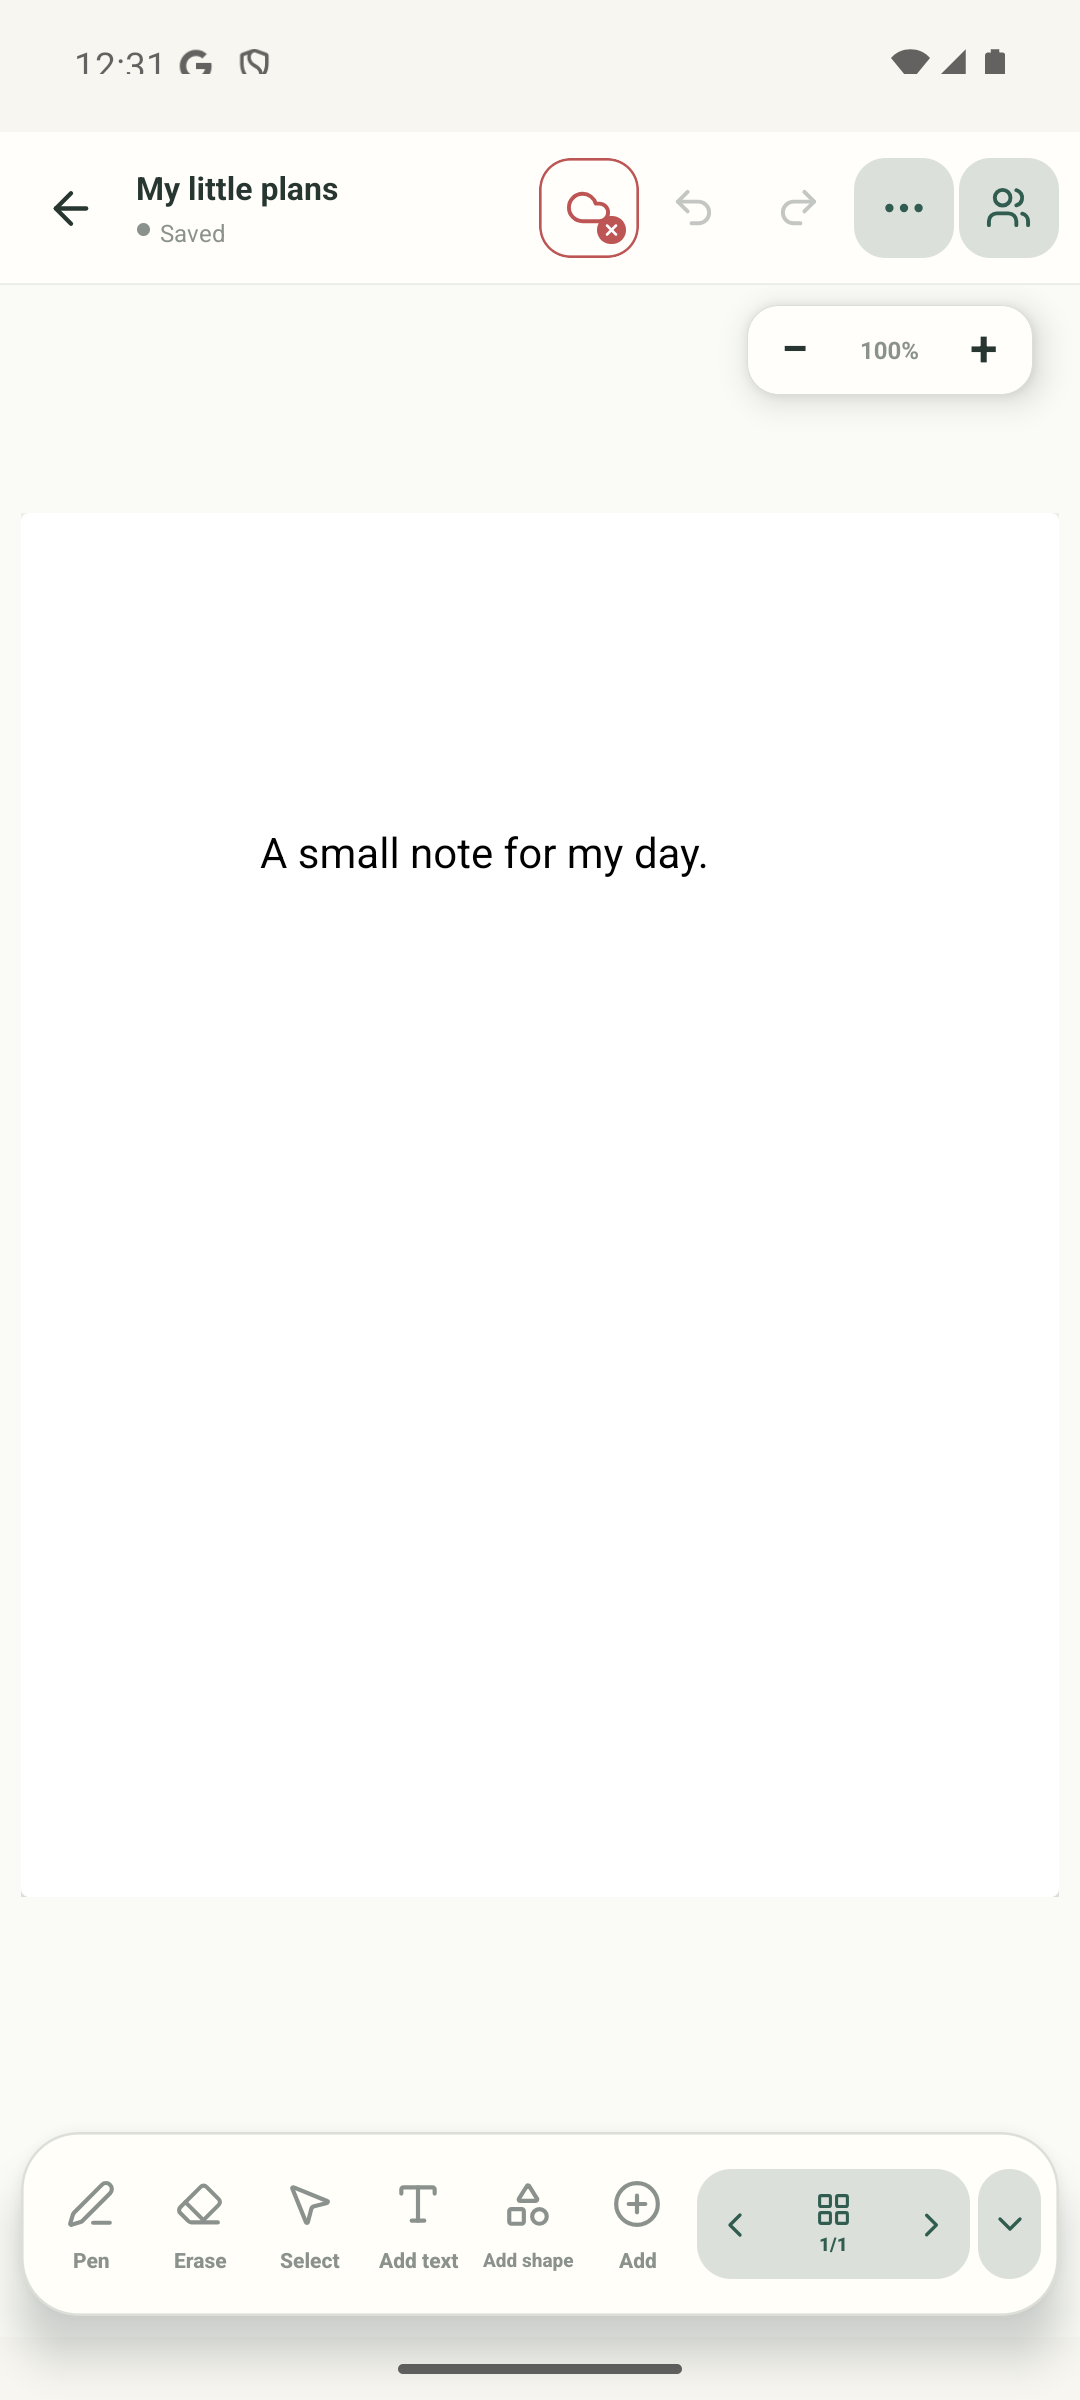
Step 1 of 9 — Start on the notebook page
The screenshots show the current Android editor. Web Lite image insertion and editing have not been verified in this batch.
Add and crop a picture on Android
Add and crop a picture on Android
Start on the notebook page
Open the page where the picture belongs. Tap Add in the bottom toolbar to open the Add to this page menu.
Choose Image
In the Add to this page menu, tap Image. This opens the device picture picker; Sticker and other media are separate choices.
Choose a picture
This clearly labelled example gallery stands in for the Android system picker. Search results for “plant” are shown; tap Window plant. The real picker can look different on your device.
Check the selected picture
After you choose a picture, Stilopad places it on the page and opens its object toolbar. This capture shows the inserted picture already selected; no extra tap is needed here.
Open Edit image
Tap Edit image in the picture toolbar to open the crop editor.
Drag a crop handle
Drag the bottom-right handle a little inward. The picture stays still while the crop boundary changes; drag inside the frame only when you want to move the picture.
Check the crop
The crop frame now keeps a smaller part of the picture. Output size is shown below the preview.
Apply the edit
Tap Apply. The edited picture returns to the page in place of the previous version.
See the finished picture
The saved crop is back on the notebook page. This is the result to check before carrying on.
These real Android screenshots use a plant illustration. The crop example changes the visible edges and applies the result; it does not cover every image-editor option.
On Web Lite
On Web Lite
Open a notebook and choose the image action in the editor toolbar or Add menu.
Choose a picture in the file picker, then select it on the page to see its toolbar.
The exact Web Lite image-editing route was not tested in this batch. Button names and crop controls may differ from Android.
A crop keeps only part of a picture
The crop frame sets which part stays visible. Keep aspect ratio is shown as a separate option. The editor also shows output size, rotate-left and rotate-right, and edge-background removal; those extra controls were not changed in this example.
The edited picture is on the page
After Apply, check the page and the Saved status before continuing. This workflow edits the selected image in place; keep a separate copy of the source file if you may want it later.
If the crop does not look right
- Drag a corner handle to change the crop. Drag inside the frame to move the picture, as the editor instructions describe.
- A small original may look soft if you enlarge it. Output size cannot create detail that was not in the source.
- The background-removal card says it works best on flat, solid colours. Similar colours in the picture may be affected too; this example did not test that option.